How do I customize an email using the WYSIWYG editor?
Once you have created a new email, you may now personalize it with the help of PUBLITRAC's WYSIWYG editor.
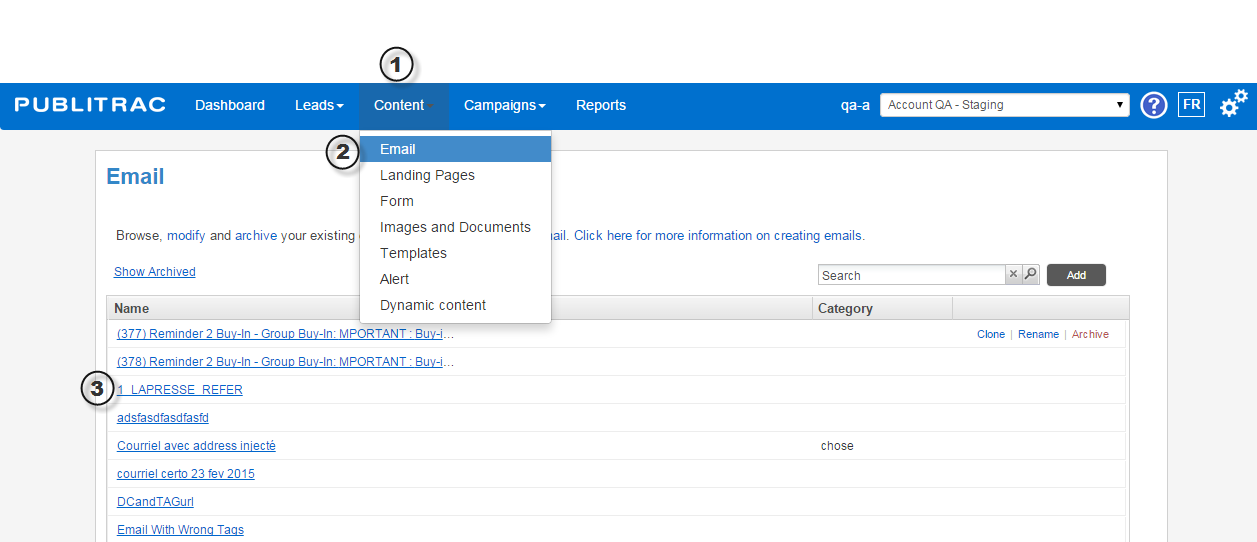
1. Select the Content tab in PUBLITRAC's top menu bar.
2. Select the Email submenu.
3. Select the email you wish to personalize or modify.
4. Fill in the Subject field. This is the title of your email as it will be displayed in your recipient's inbox.
5. Fill in the From field with the name of the sender as you wish it to be displayed in your recipient's inbox.
6. Fill in the From Address field with the email address of the sender as you wish it to be displayed in your recipient's inbox.
This is also the email address your recipients will use to reply to your email.
7. Select a category in the Categories field.

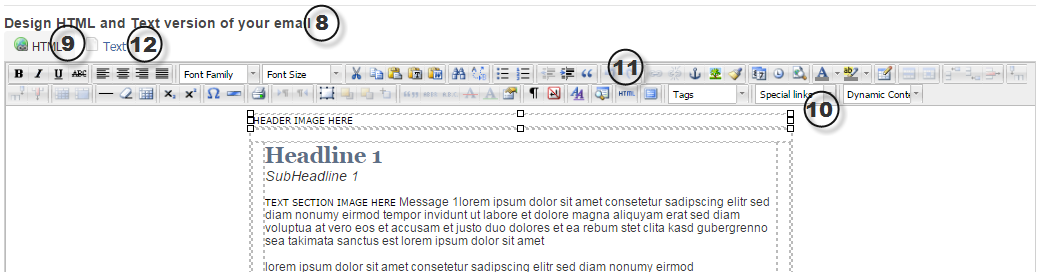
8. Scroll down to the Design HTML and Text version of your email section.
9. Select the HTML tab. What you are seeing is a WYSIWYG editor (What You See Is What You Get). This editor will allow you to preview your email as you edit it.
10. Customize your email's text, images, colors and links as desired using the WYSIWYG menu options.
11. To view your email's HTML code, click on HTML in your WYSIWYG menu bar.
12. To configure a text-only email with no HTML, select the Text tab.
13. To view a preview of your email from your email inbox, click the Preview button at the bottom of the screen.

14. Specify the email address to which the email preview should be sent. You may choose from a predefined group or type in one or more email addresses separated by a comma.
15. Click OK. 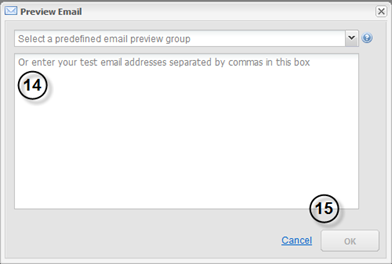
16. Once you have finished editing your email, click Save.
This creates an email that can be used subsequently in your automation campaigns.
It is important to test your new email. This will help ensure your links and images are correctly displayed and functional.
Related articles