Email (Customize via recipient / attribute tags)
1. Click content, and then Email.
2. Select the email in which to insert the desired tag.
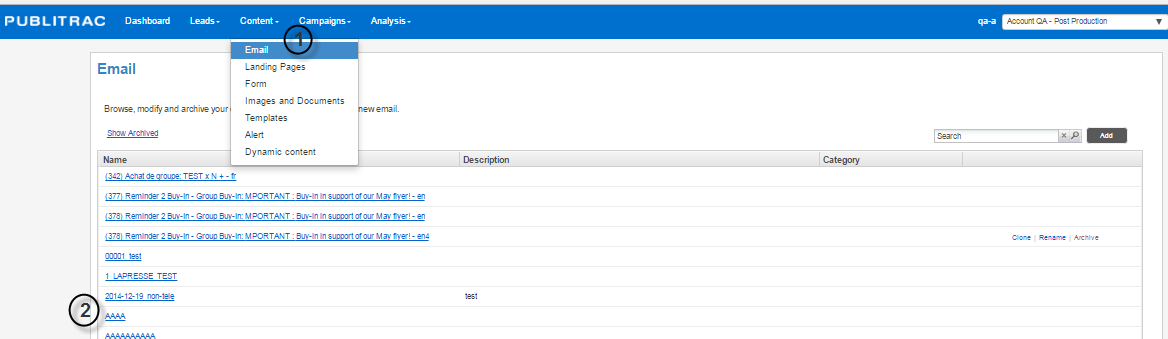
The screen below appears.

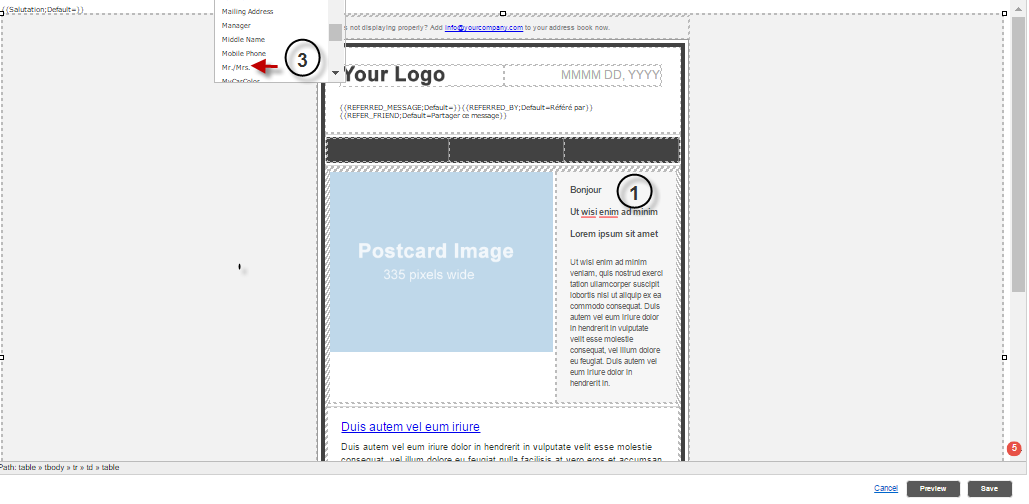
1. Select the section of the email (or landing page) where you want to add a tag.
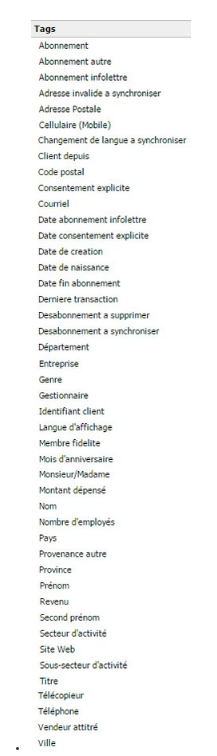
2. Select the desired tag from the drop-down Tags menu. The tags that appear in the drop-down menu of PUBLITRAC correspond to the attributes (socio-demographic profile,...) displayed in the Lead details page . You can also add tags that meet your specific needs (maximum 25 custom fields).
3. In our example, we chose Mr./Mrs.
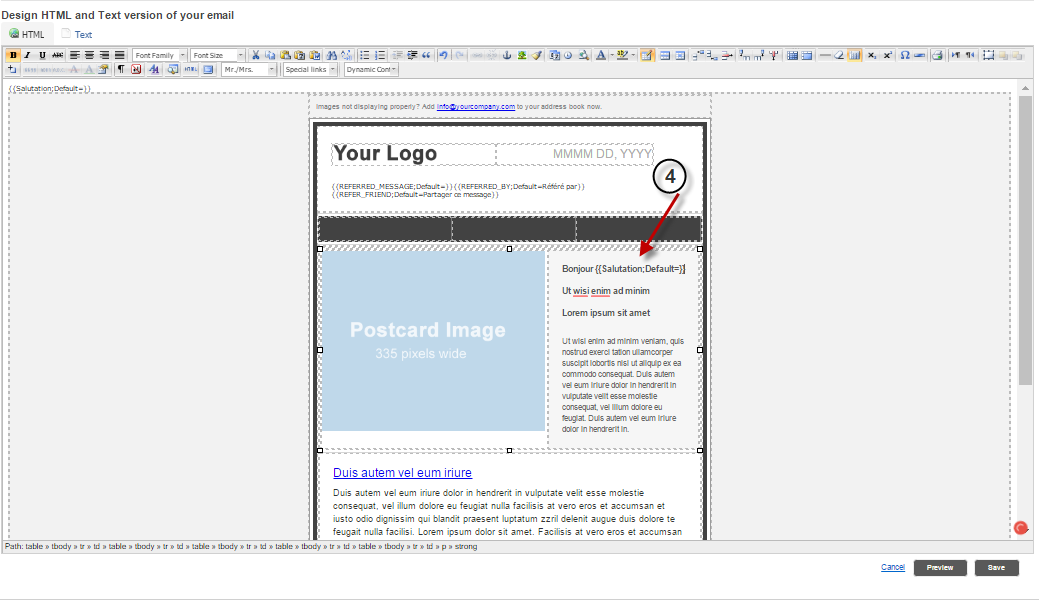
4. The window below appears. The Salutation (Mr. or Mrs.) will automatically appear when sending an email to their attention. You can add as many tags as you want to further customize your email.
You can now proceed to the customization of your email at the level of the sender (see article Email (Customize via sender of emails and special links), then at the level of the dynamic content (see article Email (Customize via dynamic content) )
 TIPS
TIPS
- We recommend to insert the tags in a phrase which contextualizes the use of the tag. For example, add the word Hello before the tag first name: Hello {{FirstName; Default =}}. You can also use a combination of tags. For example first and last name. If your database does not contain the desired attribute, type a default value. For example, if you do not have the customer's first name, the email could begin by Hello dear customer: {{FirstName; Default = dear}}. You can also, not specify a default value in the field, leaving the field empty. This is the default value (an empty field) that will be displayed: {{FirstName; Default =}}. The email would then begin with Hello.
- The tags that appear in PUBLITRAC`s drop-down menu bar correspond to the attributes (socio-demographic profile,...) displayed in the Lead Details page. You can also add tags that meet your specific needs (maximum 25 custom fields).