...
Once a certain score is attained by your lead, PUBLITRAC automatically sends an alert indicating that the score has been reached.
Step 1. Create the alert email
...
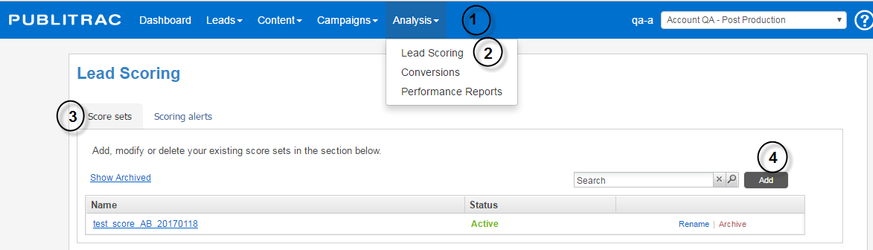
3. Select the Score sets tab.
4. Click Add.
...
The Lead Scoring window appears.
...
10. Select the Attributes of the leads (see screen below) you wish to target. For example, you can choose the leads that live in Montreal by the City attribute. In doing so, your score assigned to the chosen activity will be allotted only on leads residing in Montreal. The attributes present in this list correspond to the fields found on the page Lead Detail (default and custom fields, both appearing in alphabetical order and combined). You can add other attributes to your Score Group by clicking on  .
.


11. Choose the Operationto apply to this attribute.
...
1. Access Analysis, then Lead Scoring.

...
2. Select the Scoring alerts tab.
...
7. Removea score alert by clicking on the  icon at all times.
8. Click Save.
...
 TIPS
TIPS
- It is recommended to set up alerts upon the initial creation of forms in PUBLITRAC. Allows you to be notified for each completed form.
- Comments left on a form by your leads can be displayed directly on the alert.
...
The screen below appears.
4. Select Add.
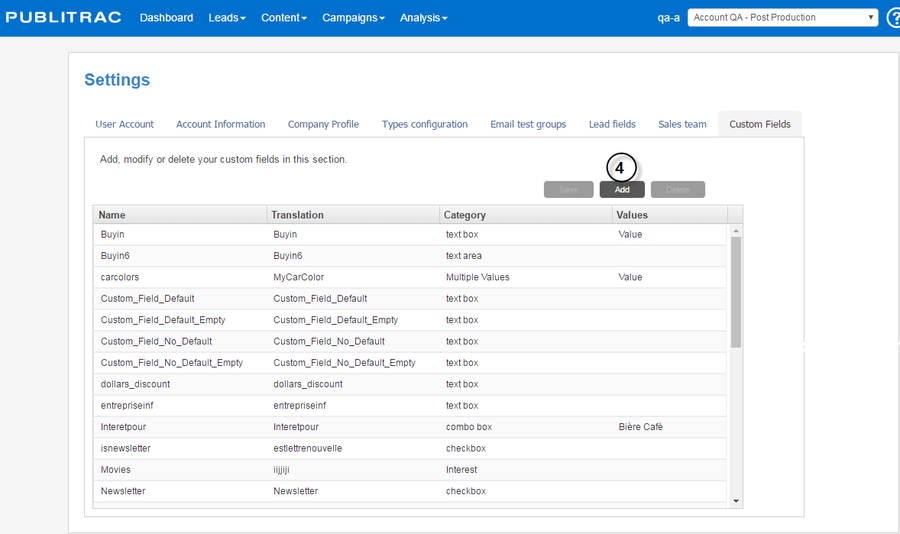
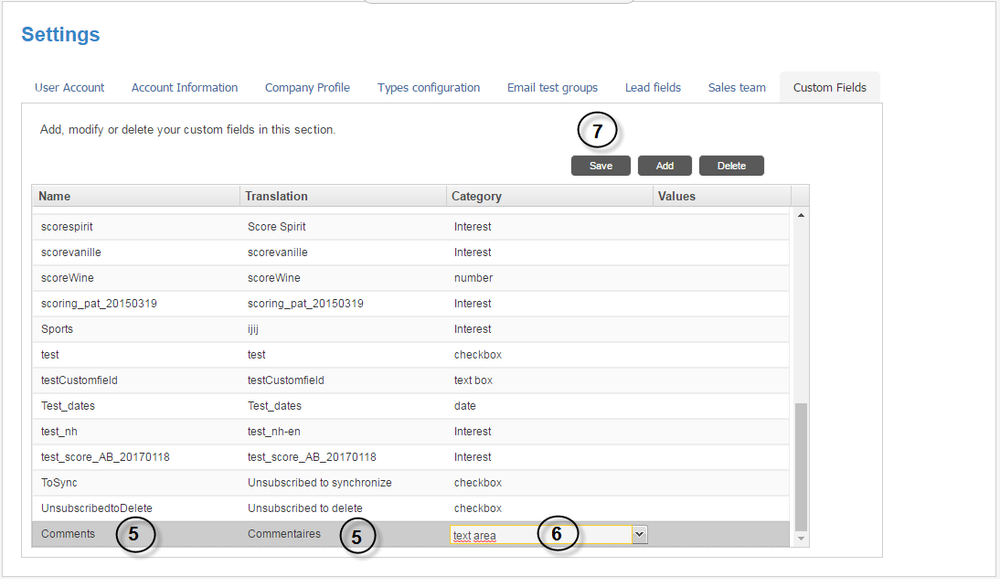
5. Nameyour custom field. In our example, Comments and Commenatires for the translation.
6. Choose the Category. If you choose Multiline text, a long comment with text and numeric characters will be accepted. A maximum of 512 characters can be inserted.
7. Save.
...
Combine the Comments field on your form to the custom field Comments in PUBLITRAC.
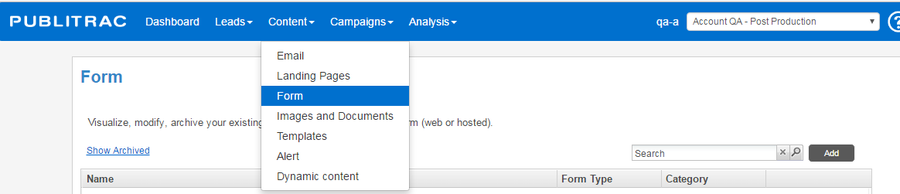
1. Select Contentand Form.
...
2. Choose the form to be matched.
...
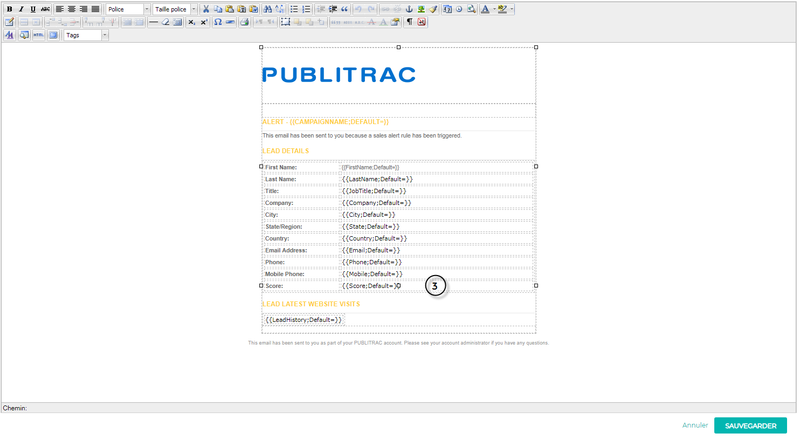
The screen below appears.
...
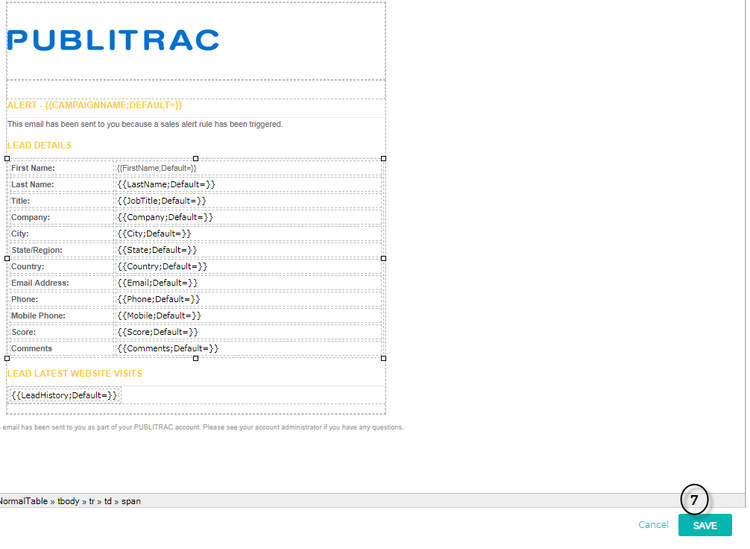
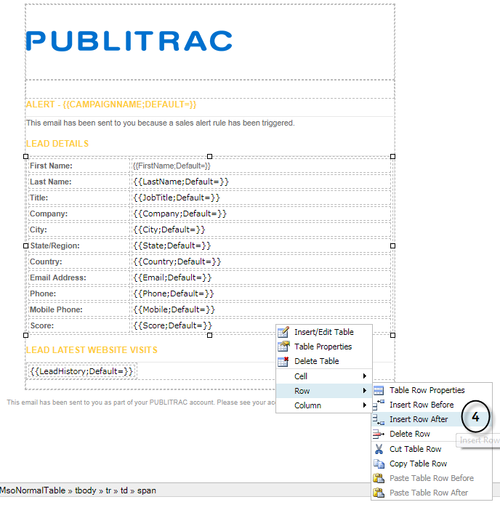
3. Choose Right-click on your alert the field prior to where you want to add a new one.
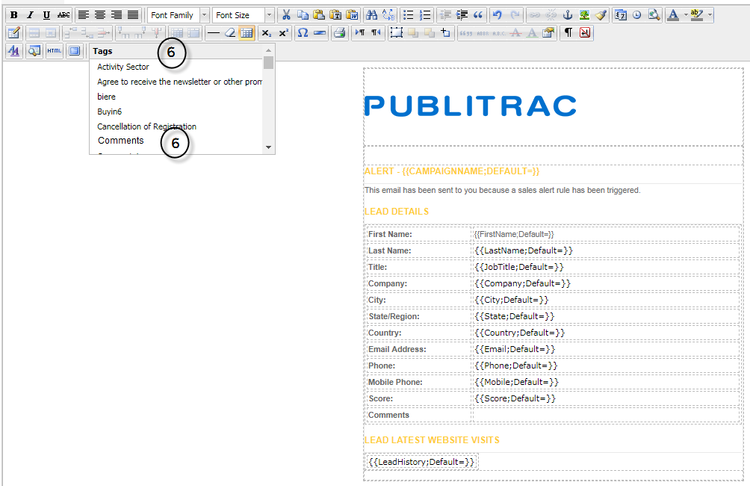
4. Choose Insert Row Before or After according to insert the Comments tag which will display the comments once the alert is received by the recipient.4. Open where you wish to insert the new field
5. Enter the name you wish to give this new field
6. Click in the space where you need to enter the tag. Open the Tags drop-down menu.5. Choose Choose the tag corresponding to your custom field, in field which will display the comments once the alert is received by the recipient. In our example, Comments.
67. Save.
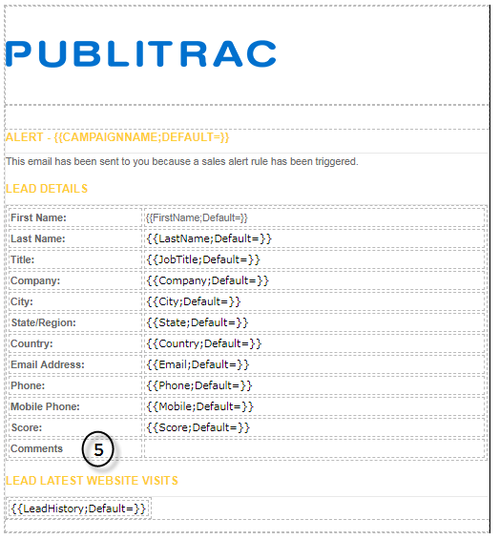
The end result will be as follows:
???????????????????????????????????? - SEE MICHEL FRIGON
...